 As we begin the busy spring planting season, we would be remiss if we didn’t remind folks that in this country we mow 32 million acres of lawn every week, burning about 600 million gallons of fossil fuels every year. We could continue to site depressing lawnmower stats, but let’s stop talking about the problem and cut to the chase. Let’s fix it. If you’re following our Journal, we’re thinking about how we use our lawn, expanding our planting beds, and planning for more trees, shrubs and perennials. Right in our own backyards, we have the opportunity to improve biodiversity and ecological function, thereby increasing ecosystem services.
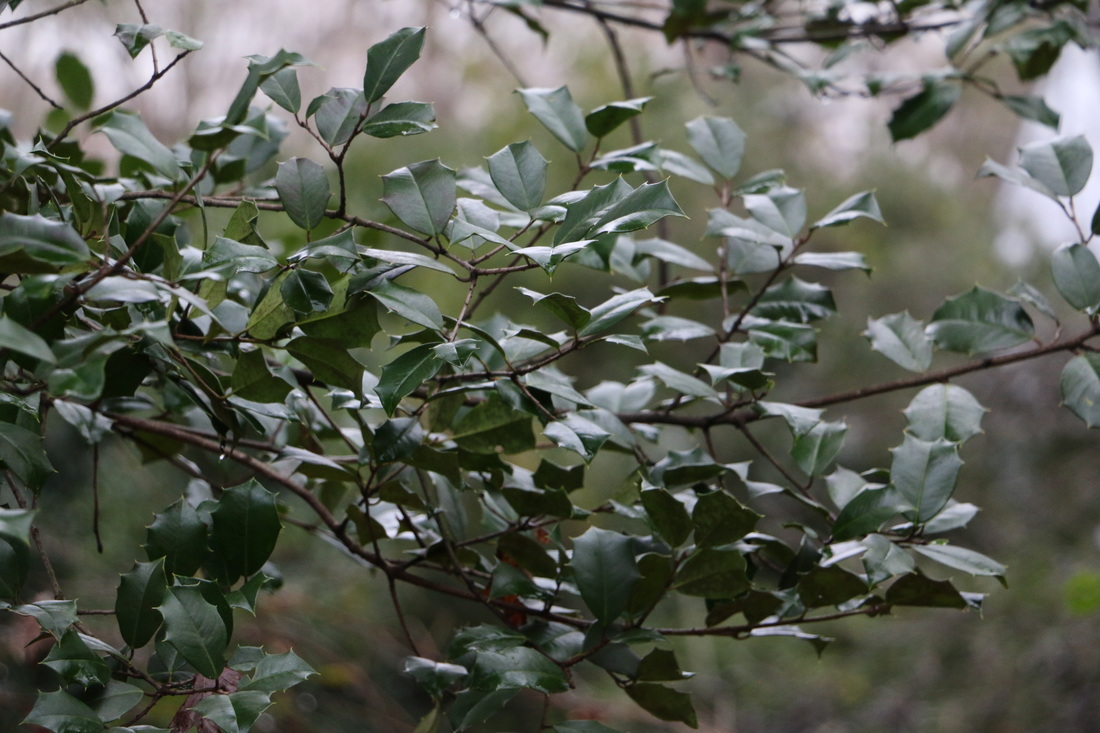
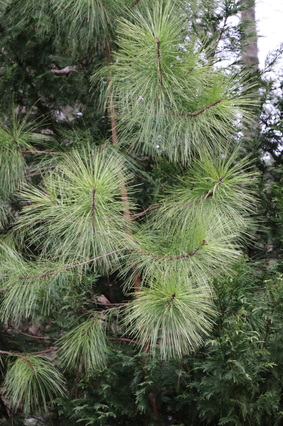
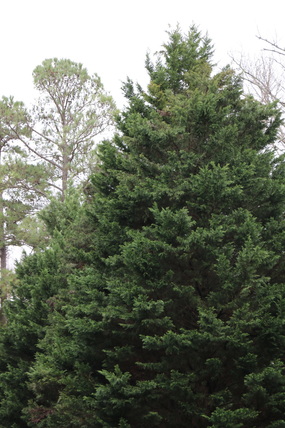
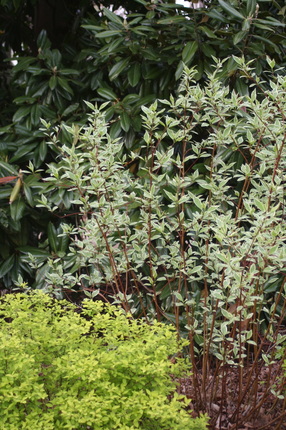
Wow. Now there’s some pressure, but maybe not. To a plant geek (like me, like all of you) this sounds like the perfect excuse to plant more plants. We’re just helping to save the planet, right? So let’s go. But wait, hold on, one more reminder…. in order to get the biggest bang for our eco-friendly buck, check the shopping list. Native plants provide significantly more ecosystem services than non-natives. You will find our Go-To Native Plant List in the footer of our store. Use it as a great memory jogger when planning for new or expanded beds… and less lawn. Let’s do it. 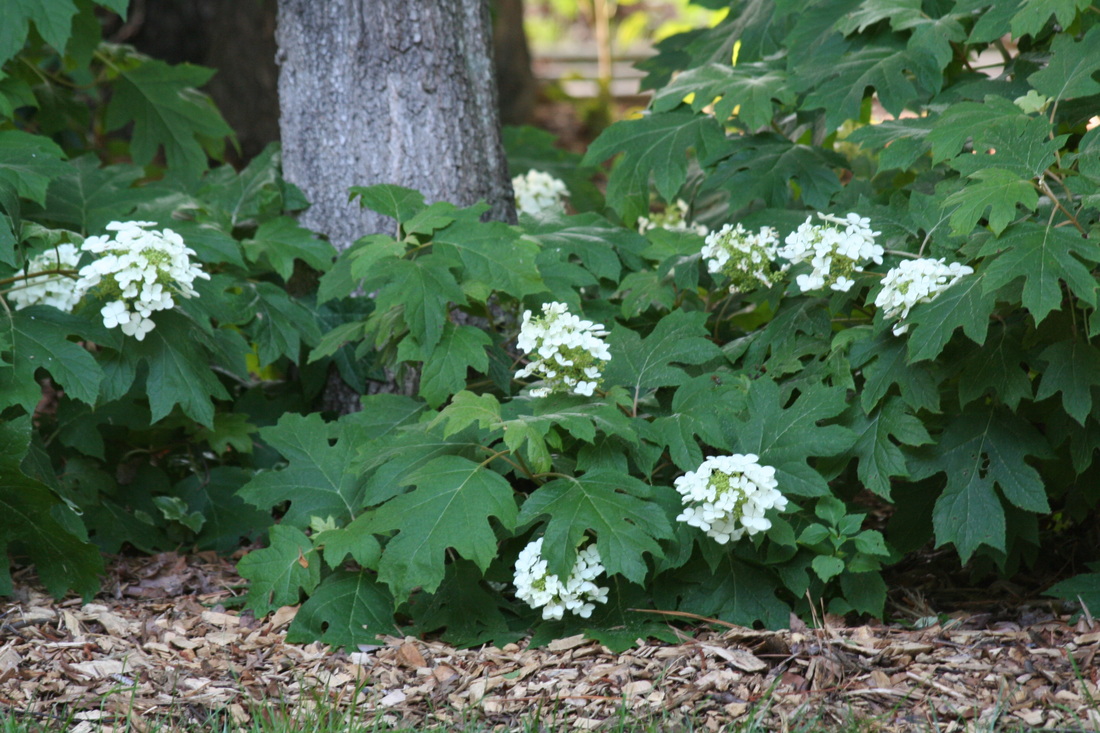 Hydrangea quercifolia 'Pee Wee' We’ve talked about creating contrast in the garden by using overall plant height and form as well as foliage texture, size, and color. This technique can be particularly useful when working with very natural or slightly unkempt plant species. Creating contrast between neighboring groups of plants will rein the wild ones in a bit. But, when we drill down to just foliage color by itself, we tend to see green, green, and more green. Other than a few plants with purple or gray leaves, how can we create enough contrast using green-leaved plants? Bear in mind, not all greens are created equal. Take advantage of this dormant, leafless season of deciduous plants to assess the green of evergreens. By themselves and up close, green-leaved plants look, well, just green. Next to one another, however, and especially from a distance, we begin to notice the gray-green of White Pine (Pinus strobus), the blue green of American Holly (Opaca americana) and the black-green of Leyland Cypress (xCupressocyparis leylandii).
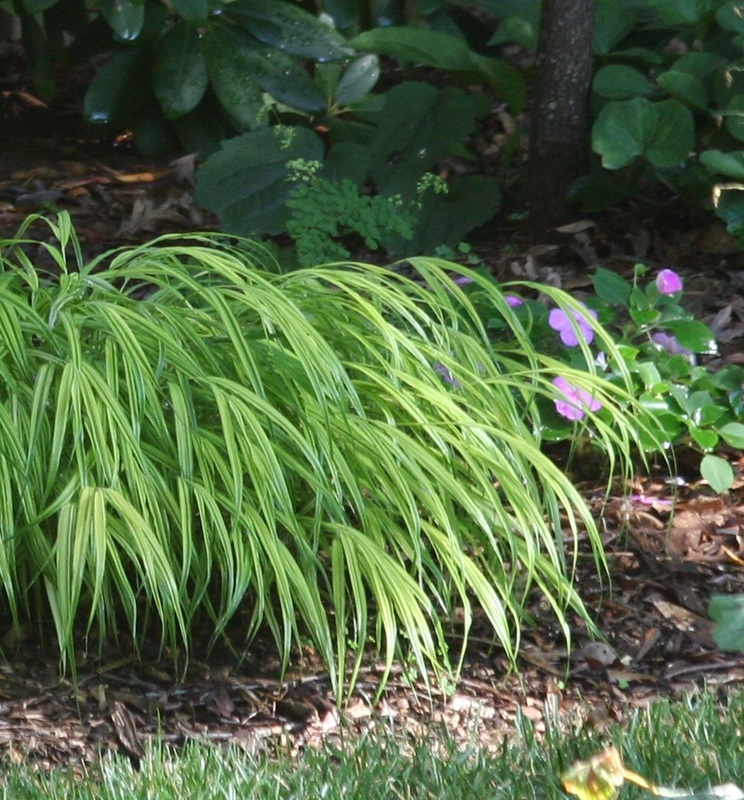
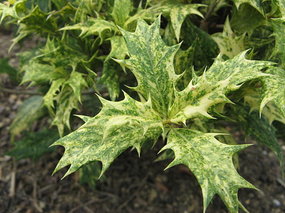
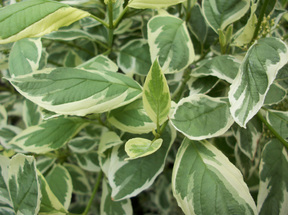
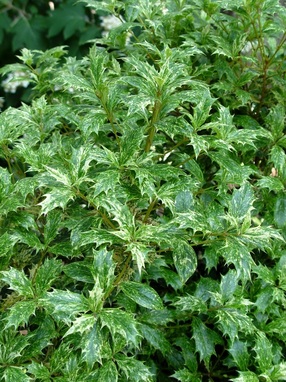
 Now, let’s consider variegated plants. Observe them from a distance where leaf variegation is lost and we'll notice even more shades of green... the yellow-green of Variegated Osmanthus (Osmanthus heterophyllus ‘Goshiki’), the silver-green of Variegated Shrub Dogwood (Cornus alba ‘Elegantissima’), and the apple-green of Japanese Shade Grass (Hakonechloa macra ‘Aureola’).
 There’s plenty to work with within the spectrum of green. Also, keep in mind, our guests typically view our gardens from a patio, deck or the street. So it’s more important to understand what a mass of plants looks like from far away than at close range. Spend some time observing greens in the gray-brown landscape of the winter season and you just may be surprised at the number of shades and hues of green you see with more on the way. Think spring! 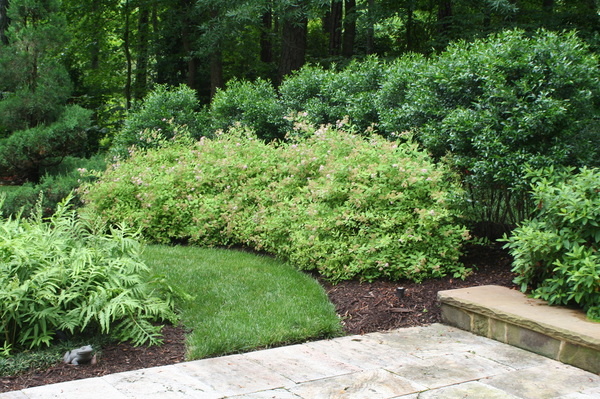 For years, I struggled with too many plant choices. So much to know and love with dozens of new introductions each spring, how did I ever begin to select plant palettes? The design process was somewhat daunting, but not anymore. Today, I start with natives. I review my list of favorite native plants, select the natives that satisfy the goals and conditions of the project, and then backfill with noninvasive, nonnatives. Not only do I pare down an ever-growing, overwhelming list of choices, but I add function to the landscape, all at the same time. Now, the design process is simple, efficient, and effective. 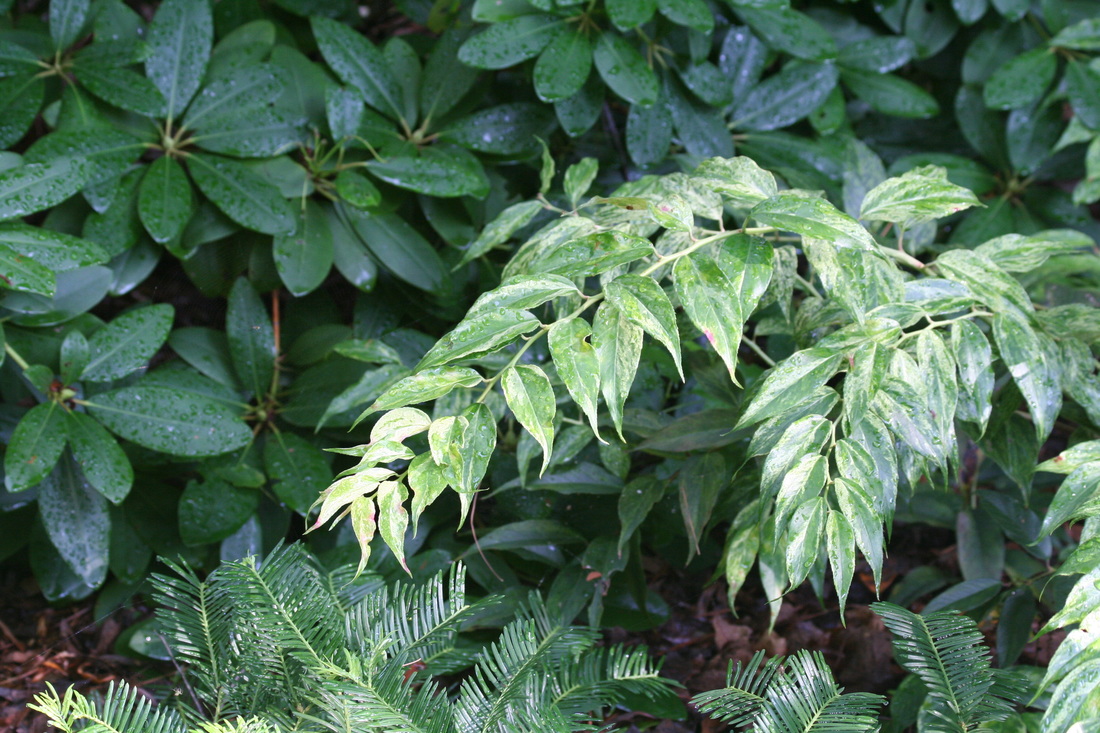 Rhododendron catawbiense, Leucothoe fontanesiana, Cephalotaxus harringtonia If you’re still thinking, “native plants are too wild for me”. That's just not true. As long as 1) we use plants that mature to the height and width of the available space, 2) we give them a snip here-and-there-now-and-again (landscapes can be low-maintenance, not no-maintenance), and 3) we use enough contrast between groups of plants, then natives are the perfect choice and satisfy the goal of creating more biodiversity and an eco-friendly landscape right in our own backyards. However... if you prefer green meatballs, well then, hmmm… let’s talk...  Ugh! Stay safe, stay warm 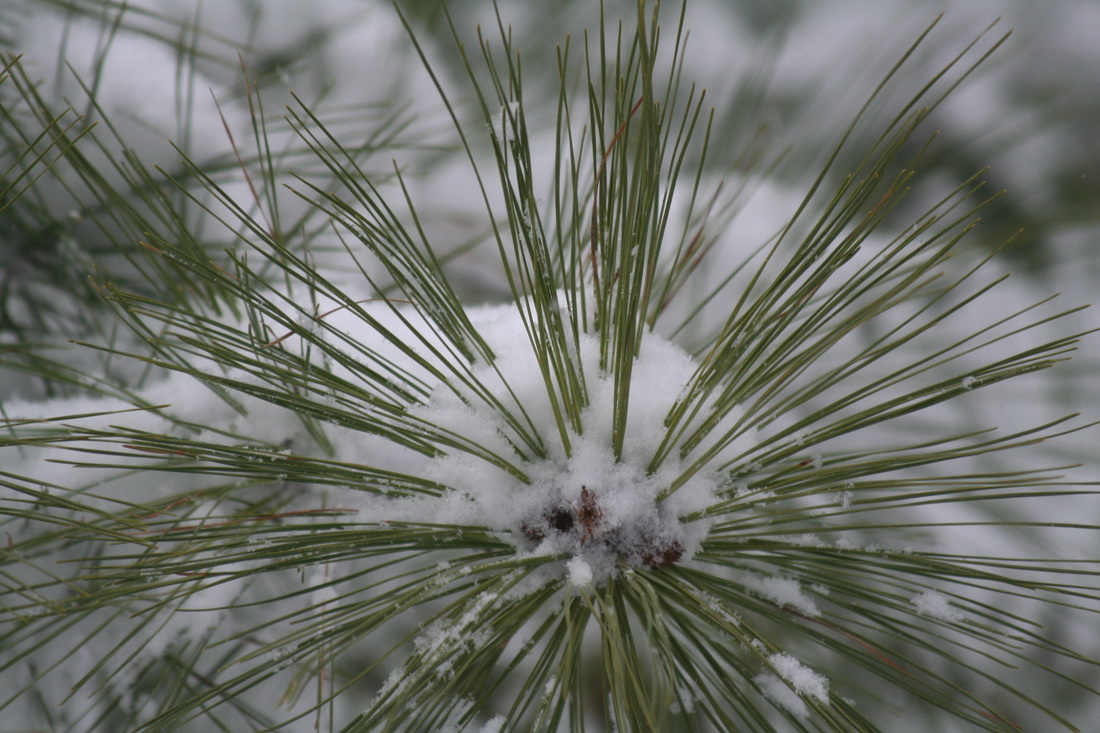 Pinus taeda (Loblolly Pine)
Start by moving a bucket to the side and removing just enough soil from the hole to get the rootball in the ground. The top of the rootball should be slightly above grade. This will ensure the roots can breathe, since they need oxygen to develop a healthy structure. If the soil is too dense or sandy, mix in some compost to improve the structure. Rough up the roots a bit, set the plant in the hole, backfill, and finally, firm the soil with your foot. Although plant roots need a good flow of oxygen through tiny air pockets, they also need good contact with the soil to draw up water and nutrients, especially during transition. On to the next bucket…  Hydrangea quercifolia 'Snow Queen' Hydrangea quercifolia 'Snow Queen' You’ve finished planting and are ready to mulch. Again, I use tree chips from my tree service guys. However, you may prefer to use shredded mulch from a local distributer. Mulch heavily (2-3”) around your new plants, but do not mulch against the main stem(s) or trunk. Mulch can be applied at any time of year, but subsequent applications are easiest to spread when herbaceous and deciduous plants go dormant. If you’ve planned and planted your beds as I’ve suggested with plants touching at maturity, eventually, you will leave a thin layer of leaves in the middle of the beds and mulch only along the outer edge. For right now and a few years to come, mulching may be a time-consuming activity. But over time, not so much. Keep in mind... Year 1: plants sleep; Year 2: plants creep; Year 3: they leap. Some additional tips regarding initial irrigation, pruning and fertilization:
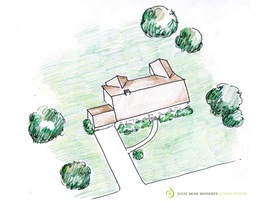
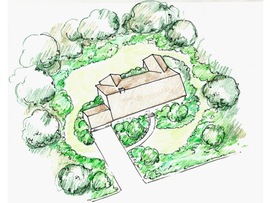
Happy Holidays! 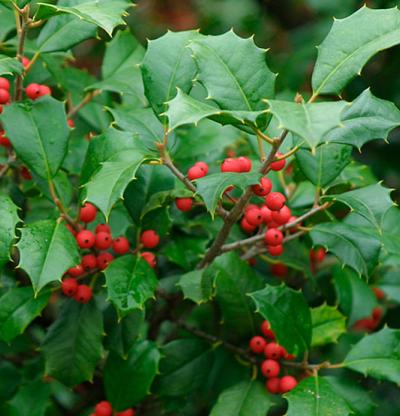 Ilex opaca (American Holly) Although you might be inclined to purchase the tallest plants for all of your beds and get them planted, I prefer to break down the installation by garden. I recommend purchasing all the plants for a particular area of the yard, tree-to-tree, patio-to-gate, etc. The layout of an area of the garden is much easier when you have all the plants on-site. So, sometimes, shopping can take more than a day or more than a weekend. No rush. As I mentioned earlier, winter is the second best season for planting because plants are asleep and better off in the ground in your yard than above-ground at the nurseries. Water all the buckets when you first get them home. Then keep an eye on the top layer of soil until you’re ready to plant. Remember to soak all the plants the night before you intend to install. This will swell the roots and help them transition better. Now, place all the buckets in the approximate locations according to your plan. Here’s the trick… push yourself outside your comfort zone by NOT providing equal distances between all plants. Envision your plants at mature size. Those Winterberry will get 8’ tall, those Encore Azalea will mature at 4’, and those Abelia ‘Kaleidoscope’ will tap out at 2’, and in most instances, just as wide. You have to account for mature size now to achieve a low-maintenance yard in the future. If you give in to spacing your plants based on what looks right today, you’ll eventually have a mess on your hands or be faced with frequent pruning. The spacing will seem odd in the beginning and perhaps for a year or two. But, keep in mind, the first year plants sleep, the second year they creep, and then they leap. Have patience. With proper spacing, your yard will age beautifully. As we discussed during the planning phase, unless you are planting in a narrow space or against a linear edge, place the buckets in zig-zag patterns or triangles. We are trying to imitate Mother Nature, who never sows her seeds in straight lines. This can be very difficult for some of us, almost a painful process for others, but it is absolutely essential to creating a natural design. 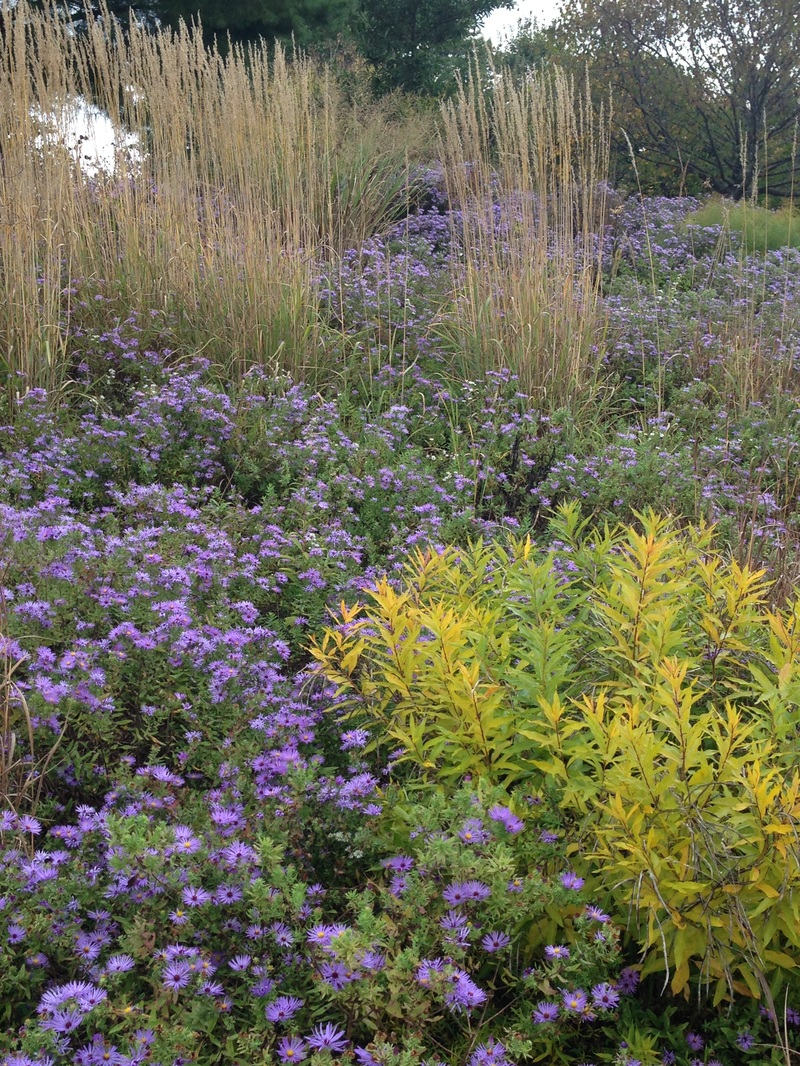 Hahn Horticulture Garden Once the buckets are placed, stand back and look at the bed from several different viewing angles. If you find yourself fussing with the location of the buckets for too long, go with what you like from the most frequently viewed spot in the house or yard, i.e. kitchen window. Then take a break. Now you’re finally ready to plant, which we’ll discuss next time. I have to admit, I do bend the planting rules and get away with it most of the time. Plants are more particular about proper sun exposure, irrigation, planting depth, and good soil contact and not so much about soil amendments, hole width, and starter fertilizers. Until next time…
|

Karen
Welcome to my journal. For over 20 years I've created original landscape plans to help homeowners increase property value and really enjoy their yards. I approach every project as an unique opportunity to develop a work of living art, one that will require minimal care and age beautifully with time. In this journal, I will share some of my field experiences and tricks of the trade with you. Feel free to email questions. Thanks for visiting.
Archives
February 2019
|
Follow UsCopyright © 2024 Plant More Natives, LLC, Richmond, Virginia. All rights reserved.
|
Customer Care |

|